
One of our simple pleasures in life is enjoying the outdoors with our friends and family. It’s what we look forward to when the weather gets warmer.
Whenever we pack our camping gear essentials we like to include our 2-gallon water cooler so we can wash our hands and brush our teeth. Hygiene is a big thing for me when we’re camping.
I wouldn’t call myself high-maintenance but any way we can keep it somewhat hygienic is a plus for me.
When we were looking up some options, we found the Yakima Road Shower that holds 4-gallons of water. For over $300, it was out of our price range so we did some research to see if we can DIY our own version.
In this post, I share two versions of our own DIY camp shower build that can be pressurized and solar heated for $100 each and under two hours! Ours also holds up to 4.5-gallons of water.
Some of the links in this post are affiliate links. This means if you click on the link and/or purchase the item, I will receive an affiliate commission at no extra cost to you. All opinions remain my own.
WHAT'S IN THIS POST?
What is a Portable Camp Shower?
A portable shower is one that you can take with you so you can shower or refresh anywhere you are.
There are many different versions of what a portable shower can look like, depending on where you’re going and how you get there.
If you’re driving around and will have access to your vehicle wherever you’re staying then this DIY camp shower will work great. You can use the portable shower on your camping trips and even if you’re a van lifer travelling around.
Being quite large, this portable diy shower won’t work if you’ll have to be away from your vehicle, unless you don’t mind trekking into your campsite with a 6-ft ABS piping on your shoulders.
For those who are looking for a compact portable shower that you can stow away and is compact and lightweight suitable for backpacking, check out the Sea to Summit Pocket Shower or Amazon for a Solar Shower Bag Camping Shower.

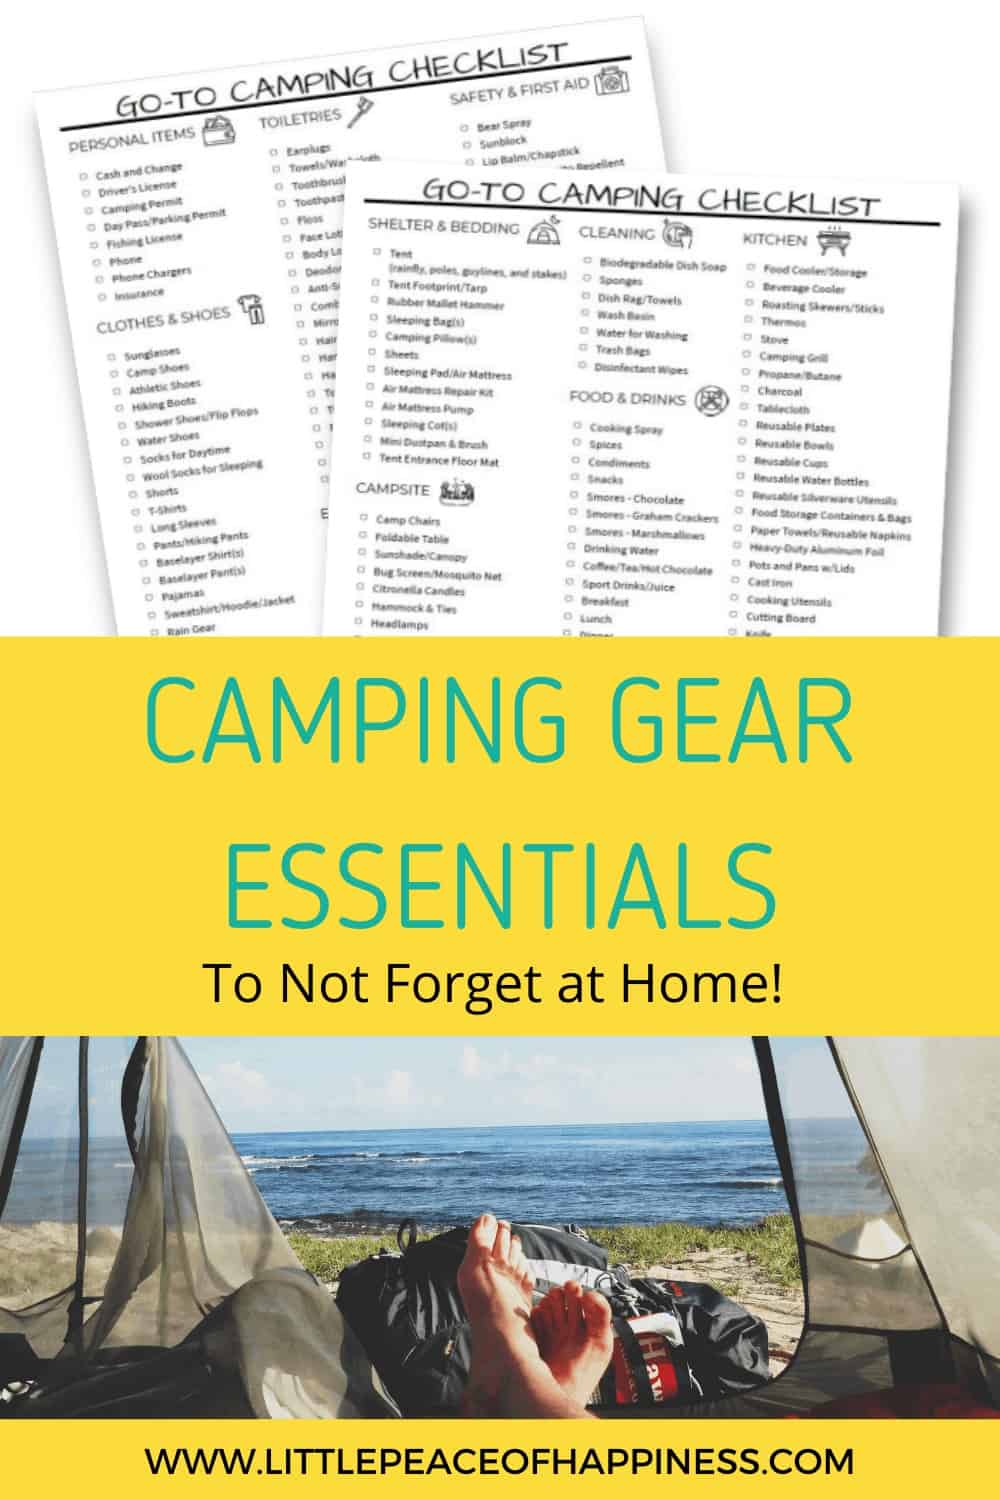
Related Posts: Camping Gear Essentials You Don’t Want to Forget + Camping Checklist
Where Can I Buy Materials?
Anywhere you can find plumbing materials is where you’ll find parts for your DIY camp shower.
We have access to two brick and mortar home improvement stores (Home Depot and Lowes) and actually bought parts from both stores.
Some of the materials were tricky to find in store so we had to special order them from other places, order them online, or get them from other stores.
Lucky for you, I compiled a list and the links to all the materials that we used. If you don’t want to DIY your own shower, you can buy the Yakima Road Shower or a budget option, here.
We made two designs of the camp shower and I’ll list materials used for each version. We even made a video to show you how it’s done if you prefer to watch it being made!
What Materials Do I Need to Build a DIY Camp Shower?
Before building your camp shower, consider which design would work best for you. Since the main body of the shower uses 5-ft ABS piping and the store only carried it in 10-ft, we ended up making two of them.
In the materials, the links will point you to the exact items we used or very similar. We also knew we were making two camp showers so getting a 10-ft and 2-ft ABS may not make sense to you if you’re making one.
The single 10-ft ABS should be enough for a single road shower.
Tools
- Cutting Tool for ABS, we used our Ryobi Compound Miter Saw
- To drill for the pressure valve, we used a Ryobi Power Drill
- ⅜” Drill Bit from our Ryobi Titanium Drill Bit 22-PC Kit
- All-Purpose ABS, CPVC, PVC Cement
- PVC/ABS Transition Cement
- 0.6-in x 43-ft Plumbers Tape
Optional
- Tubeless Tire Valve, 1-¼” – to pressurize
- Digital Car Tire Inflator – to pressurize
- JB Weld Clear Weld – to glue tire valve
- Flat Black General Purpose Spray Paint
- Round U Bolt, Zinc plated,1/2″ x 4-1/2″ x 7″ – Mounting hardware depends on your car’s crossbar system.
Materials for Camp Shower Version 1
- (1) 4-in x 5-ft ABS DWV Pipe
- (1) 4-in. x 1-ft ABS DWV Pipe (Optional, if you get the 10-ft ABS)
- (1) 4-in ABS Cap
- (1) 4 in. PVC DWV Hub x Hub x FIPT Test Tee
- (1) 4-in x 4-in x 2-in Dia Schedule 40 Wye 45 Degree Angle
- (1) 4-in x 4-in Dia Schedule 40 Spigot Cleanout Female Adapter
- (1) 2-in x 3/4-in dia Bushing PVC Fitting – couldn’t find the threaded version at Home Depot
- (1) 3/4-in MNPT Brass Multi Turn Hose Bibb
- (1) 4-in x 4-in Dia Schedule 40 Plug (recessed)
- (1) 4-in x 4-in Dia Schedule 40 Plug (w/ nub)
Related Posts: Camping Gear Essentials You Don’t Want to Forget + Camping Checklist
Materials for Camp Shower Version 2
- (1) 4-in x 5-ft ABS DWV Pipe
- (2) 4-in. x 6-in ABS DWV Pipe (Optional, if you get the 10-ft ABS)
- (2) 4-in ABS Cap
- (1) 4 in. PVC DWV Hub x Hub x FIPT Test Tee
- (1) 4-in x 4-in x 2-in Dia Schedule 40 Wye 45 Degree Angle
- (1) 2-in x 3/4-in dia Bushing PVC Fitting – couldn’t find the threaded version at Home Depot
- (1) 3/4-in MNPT Brass Multi Turn Hose Bibb
- (1) 4-in x 4-in Dia Schedule 40 Plug (w/ nub)
How to Build Your Outdoor DIY Camp Shower
The assembly of your DIY camp shower is actually really simple. The basic steps are to cut down the materials to size and using appropriate cement to glue all of the components together.
Measure the total distance of the side of your car to determine the final size of your camp shower. For our 2016 Subaru Forester, we decided on a total length of 7-ft, which includes all of the piping components. The instructions will be for a 7-ft camp shower.
TIP: open the trunk to make sure the final size doesn’t prevent the trunk door from fully opening.
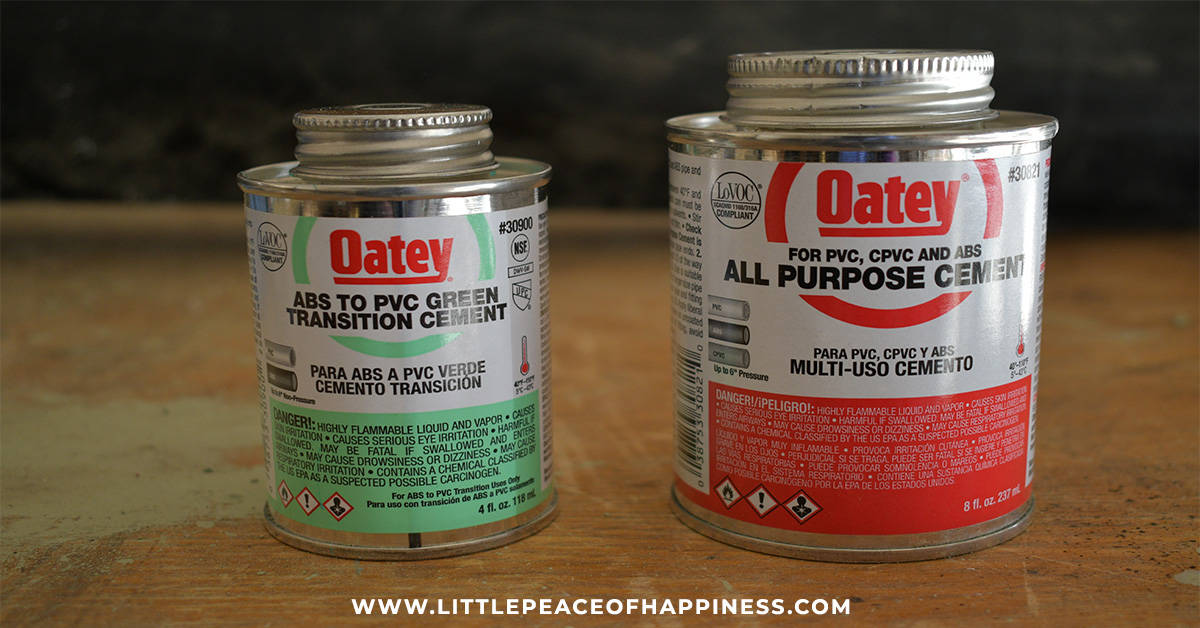
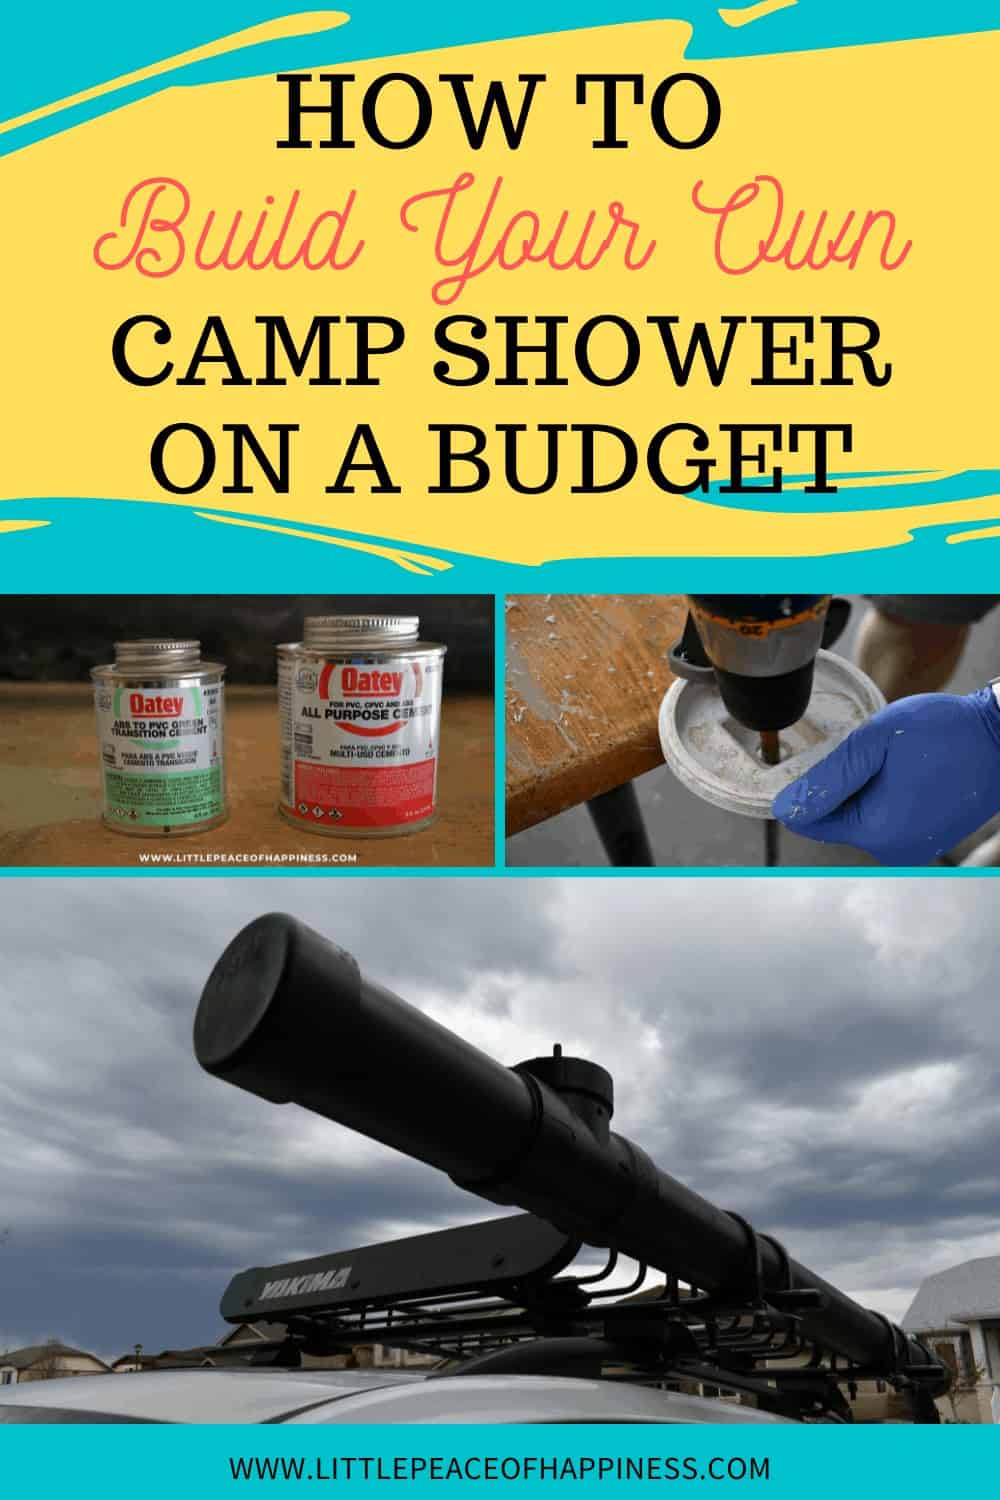
During the construction, we used two different cements. The first was for gluing ABS to PVC piping and the other was gluing like materials together such as ABS to ABS, PVC to PVC, etc.
Instructions for Camp Shower Version 1
- Cut down the 4-in x 10-ft ABS DWV Pipe to 5-ft long and another piece that is 1-ft long if you are building one camp shower. If you want two camp showers, then you’ll have to buy an additional 4-in x 2-ft ABS DWV Pipe and cut that down to 1-ft instead.

We used our Ryobi Compound Miter Saw to cut the pipes, but you may also try a hand saw.
- Lightly sand down the cut sides of the ABS. This step is optional, but we did it so we didn’t accidently cut ourselves.
- To make the water fill area, glue the 4-in x 5-ft ABS DWV Pipe to a 4 in. PVC DWV Hub x Hub x FIPT Test Tee on one end of the camp shower using a PVC/ABS Transition Cement.
- To close up the other side of the PVC Test Tee, glue the 1-ft ABS pipe from step 1. Again, use the PVC/ABS Transition Cement. Seal off the side using the 4-in ABS Cap and with a All-Purpose ABS, CPVC, PVC Cement.
- You can worry about the lid for the PVC Test Tee later. Next, we’ll work on the other end of the camp shower for the hose spigot area.
- Glue the 4-in x 4-in x 2-in Dia Schedule 40 Wye 45 Degree Angle to the 5-ft ABS pipe with the PVC/ABS Transition Cement.
- Glue the 4-in x 4-in Dia Schedule 40 Spigot Cleanout Female Adapter to the 45 Degree Angle PVC with the All-Purpose ABS, CPVC, PVC Cement.
- Glue the 2-in x 3/4-in dia Bushing PVC Fitting to the spigot area of the 45 Degree Angle PVC with the All-Purpose ABS, CPVC, PVC Cement.
- Choose the lid of your choice to close up the threaded openings on both sides of the road shower.
The 4-in x 4-in Dia Schedule 40 Plug (recessed) will give you a clean look, which we used to close up the hose spigot side.
Related Posts: Camping Gear Essentials You Don’t Want to Forget + Camping Checklist
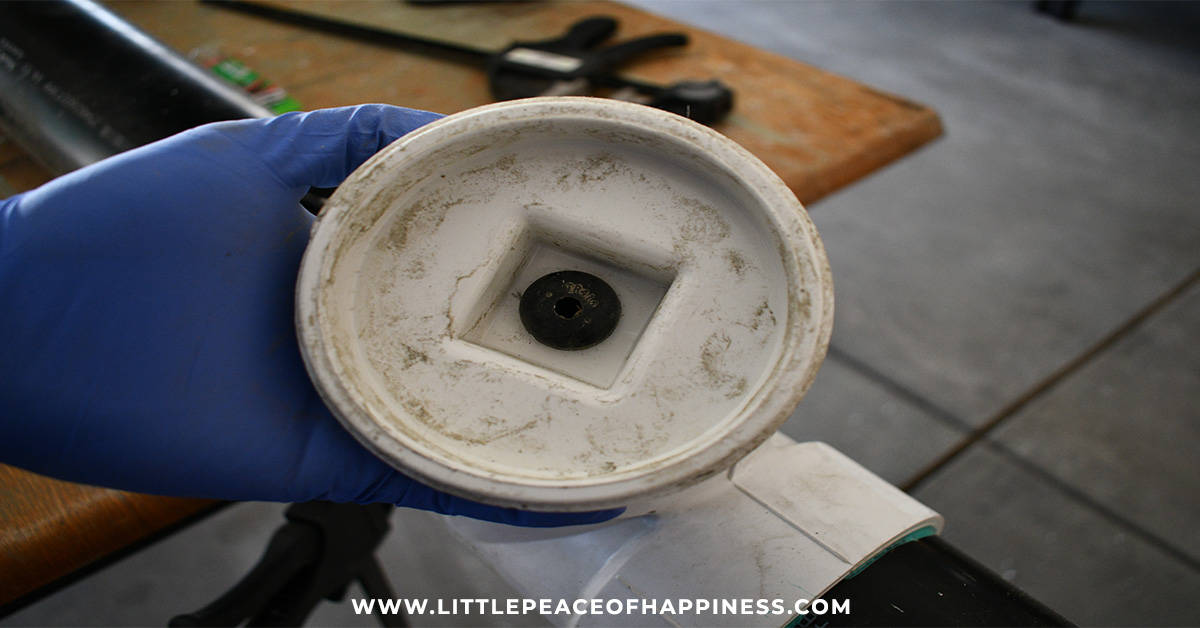
The 4-in x 4-in Dia Schedule 40 Plug (w/ nub) gives a better grip/handle to easily twist the plug on and off, which we used to close the water fill area. The plug with the nub also gave a place for us to drill and add the tire value so we can pressurize the camp shower.
- If you plan on painting the camp shower, this is the time to do it to the body of the shower and the lids. We went with a Flat Black General Purpose Spray Paint because we wanted black to absorb the sunlight to warm up the water during the day.
- For the lids, it’s best to seal any areas where air and water can escape the camp shower. We used 0.6-in x 43-ft Plumbers Tape and applied several rounds of it in a clockwise fashion when looking at it from the bottom – this prevents the tape from bunching when you tighten.
- Add 0.6-in x 43-ft Plumbers Tape to the 3/4-in MNPT Brass Multi Turn Hose Bibb and then screw it into the 2-in x 3/4-in dia Bushing PVC Fitting.
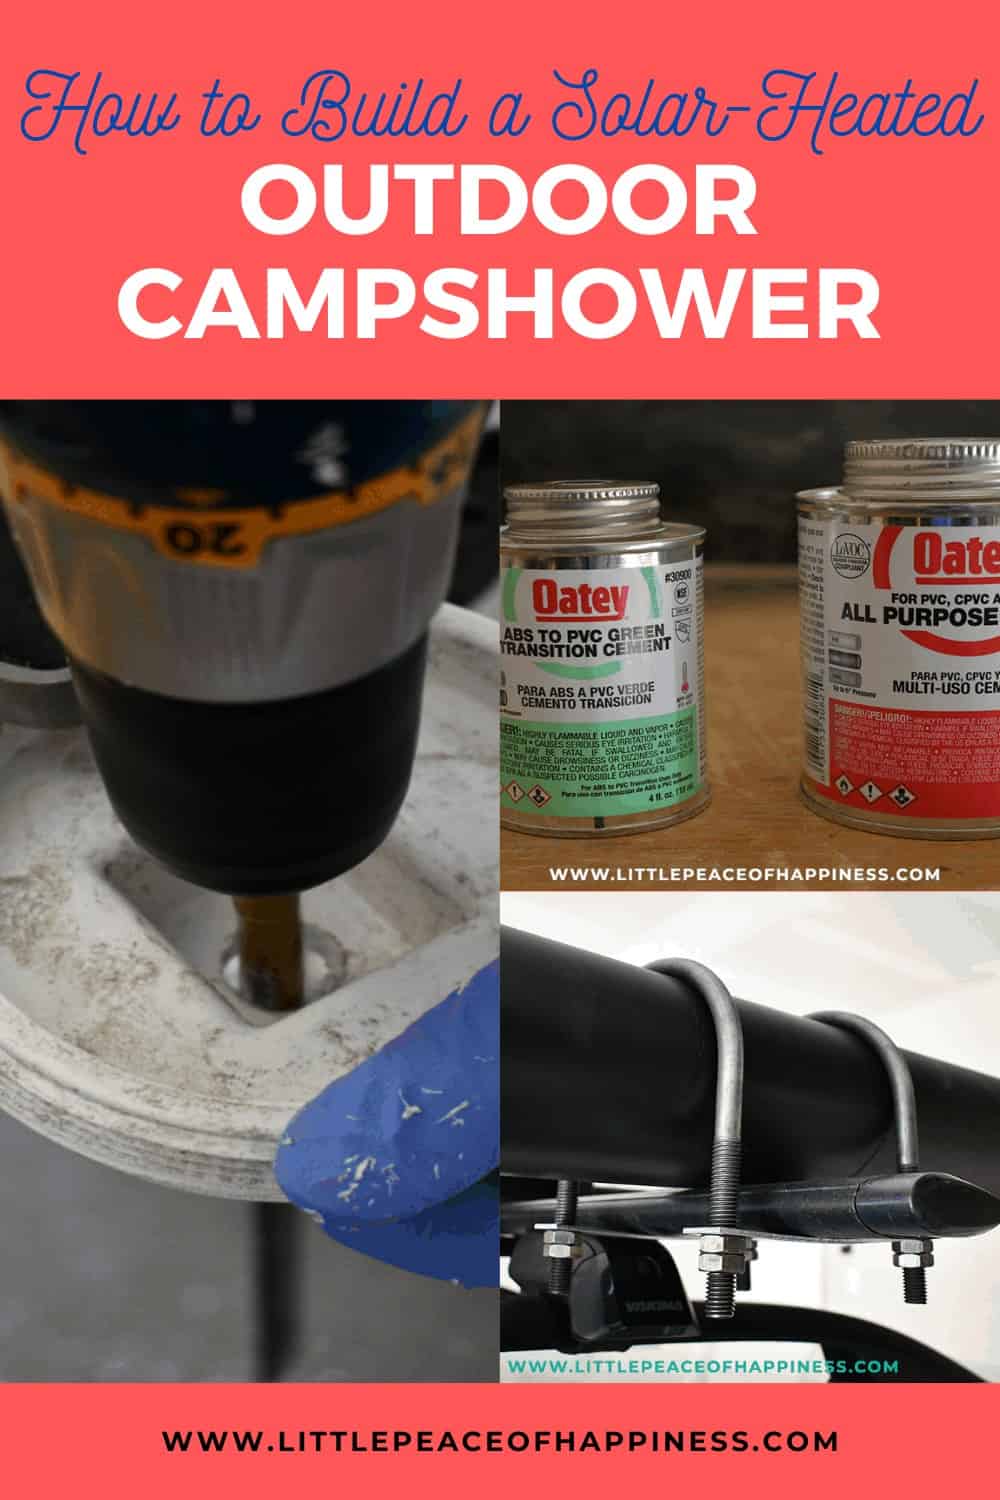
- To add the tire valve, you’ll need a power drill to make a hole into the 4-in x 4-in Dia Schedule 40 Plug (w/ nub). We used a ⅜” drill bit from our Ryobi Titanium Drill Bit 22-pc kit. Use a drill bit that will fit the tire valve.

This drill bit is smaller than the valve, so you’ll have to work slowly to widen the hole. Be careful not to drill too big of a hole or you’ll lose the tight seal. This is probably the most tedious part, but be patient!
- Use JB Weld Clear Weld to glue the Tubeless Tire Valve, 1-¼” into the 4-in x 4-in Dia Schedule 40 Plug (w/ nub).
And that’s it!! In under two hours, you can have your own DIY camp shower that you can fill up and take on the road. Version 1 is the version that we decided to use for our camping adventures.
Instructions for Camp Shower Version 2
The instructions for version 2 are very similar to version 1. Instead of listing them all out here, I’ll just tell you the differences.
If you would like to permanently seal both ends of your camp shower, instead of using the 4-in x 4-in Dia Schedule 40 Spigot Cleanout Female Adapter in Step 7, you can add another ABS pipe and cap.
To make sure the length stays at 7-ft, for the second version, we cut the 1-ft ABS (from Step 1) down to 6-inches and used the 6-inch ABS and caps for both ends of the camp shower. Check out the video to see that build towards the middle-end of the video!
How to Mount Your Outdoor DIY Camp Shower
How to mount the camp shower, was a little tricky at first. We didn’t know if we wanted to use tie down straps to hold it all down or something else.
We initially bought Galvanized Pipe Hanger Straps, but they weren’t long enough to hold the 4” pipe to our 60” Yakima Jetstream Crossbars.
So what did we finally go with?
What worked perfectly for us were round u-bolts. More specially, the Round U Bolt, Zinc plated,1/2″ x 4-1/2″ x 7″ are the ones we picked up.
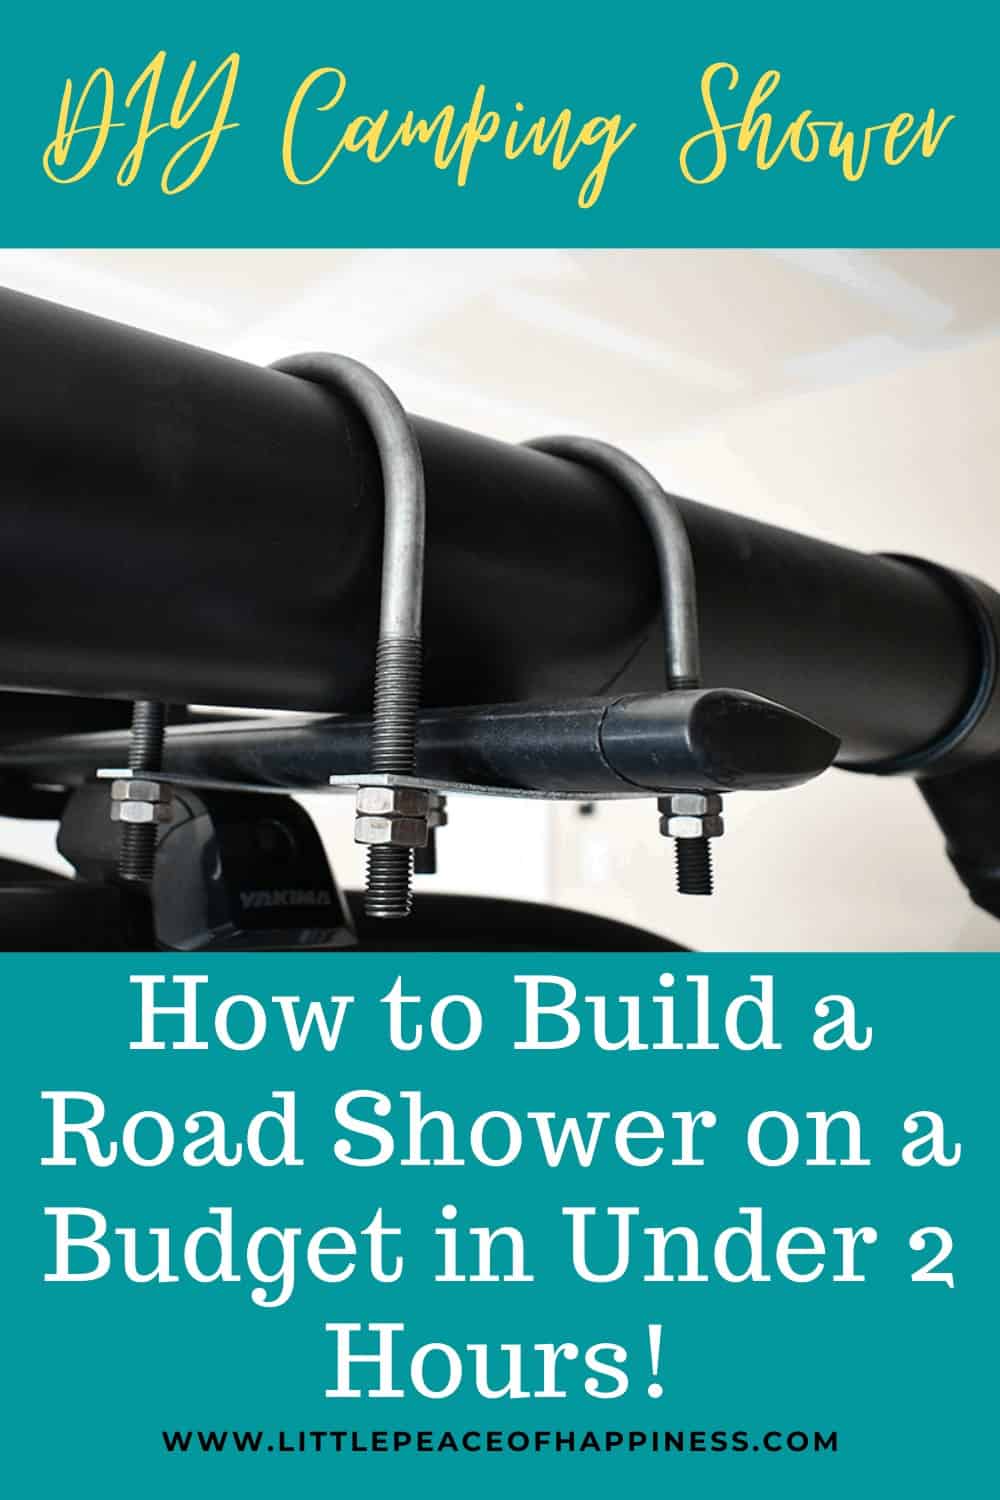
We bought four of them and combined them together to make a holding unit for each side of the road shower. Using this setup to mount the camp shower makes it feel more secure and not worry about straps flying around or the shower flying off!
Conclusion
In this post, you’ve learned how you can build your own outdoor camp shower that can be solar heated and pressurized. It’s a budget-friendly option for campers and van lifers who want a way to freshen up outdoors.
For around $100 you’ll save yourself some money that you can use on something else. But if you don’t want to deal with all the fuss with making your own, you can put out some extra moolah for the Yakima Road Shower.
I gave you all the materials and know how that you can follow to construct your own and we even put together a video that complements this post so you can see what I’m talking about.
Instead of having to shop around for design ideas and materials, this post also gives you all the materials so you can start building your own.
So what do you think about our DIY camp shower? Would this be something you would try out? Comment below!
Related Posts: Camping Gear Essentials You Don’t Want to Forget + Camping Checklist
Wishing you a Little Peace of Happiness on your next outdoor adventure!

Pin Me for Later!
Pingback: 13 DIY Camping Shower Ideas That Are Easy To Make – The Self-Sufficient Living
What an awesome post of camping showering ideas!
Pingback: Build Your Own Outdoor Shower for Camping
So you pressurize it but as soon as you open the valve you loose pressure quickly, did you find an inflator that not only turns off at a set pressure but will come back on to maintain that pressure? Or do you just keep manually pressurize it as you use it?
Hi! Thanks for reading. We manually re-pressurize it as needed. We only pressurize it once we get to our destination so we are not driving while it is pressurized as well.